Last updated: April 7, 2026
Quick Answer: A DIY YouTube channel setup can absolutely produce high-quality, monetizable content — especially when you prioritize audio, lighting, and clear framing over expensive gear. A professional setup helps, but it’s not required to grow. Most successful creators started DIY and upgraded gradually as their channel grew.
Key Takeaways
- Audio quality is the single most important technical factor — viewers leave bad-sounding videos immediately.
- A smartphone, a decent microphone, and one light source can produce professional-looking results.
- Professional setups matter more as your channel scales, not at the start.
- The biggest mistake beginners make is waiting until they have “good enough” gear before publishing.
- You can outsource editing and thumbnails affordably before investing in hardware.
- Lighting control beats camera quality almost every time.
- Start with talking-head videos — they’re simple to film and force you to be a better communicator.
- Your setup should match your content type, not your aspirations.
What’s the Real Difference Between a DIY YouTube Channel vs Professional Setup?
The core difference comes down to control, cost, and consistency — not quality alone.
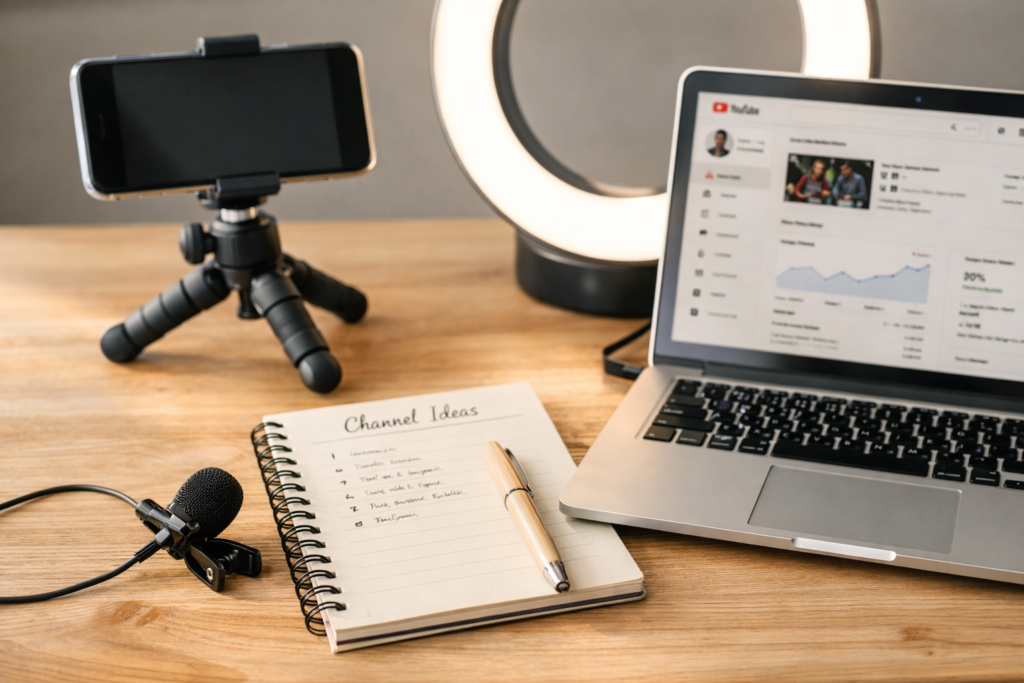
A DIY setup uses accessible, affordable tools: your smartphone or a budget camera, a ring light or natural window light, and a clip-on or USB microphone. You film in your home, bedroom, or office. Total cost can be under $200.
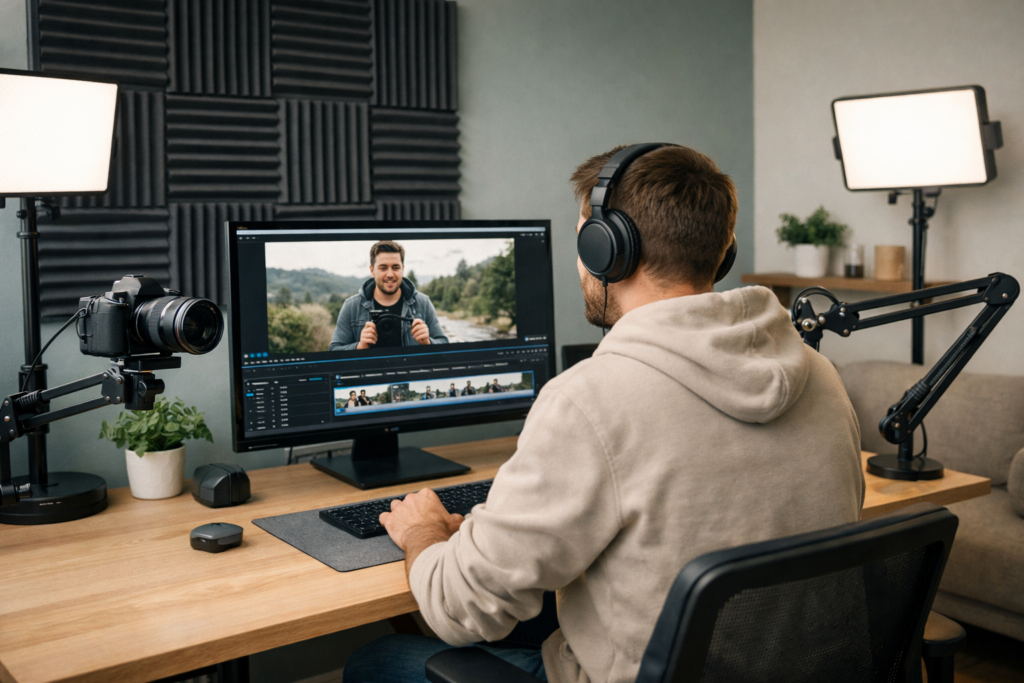
A professional setup typically includes a mirrorless or DSLR camera, a boom-arm condenser microphone, multiple softbox or LED panel lights, acoustic treatment, and a dedicated filming space. Budget: $1,500 to $5,000+.
Here’s the thing most people miss: the gap in output quality between these two setups is smaller than you think — if you use the DIY tools correctly.
| Factor | DIY Setup | Professional Setup |
|---|---|---|
| Startup cost | $50–$300 | $1,500–$5,000+ |
| Audio quality | Good (with right mic) | Excellent |
| Lighting control | Moderate | High |
| Flexibility | High | Lower |
| Best for | Beginners, testing ideas | Established channels, brand deals |
| Time to first video | Days | Weeks |
Does Gear Quality Actually Affect YouTube Growth?
Gear quality has a much smaller impact on growth than most beginners assume.
YouTube’s algorithm rewards watch time, click-through rate, and consistency — none of which are directly tied to your camera body. A video shot on an iPhone 15 with good lighting and clear audio will outperform a shaky, muffled video shot on a $3,000 cinema camera every single time.
What actually affects growth:
- Thumbnail and title (drives clicks — see our guide on how to optimize YouTube titles and thumbnails)
- Audio clarity (drives watch time)
- Pacing and editing (keeps viewers watching)
- Upload consistency (feeds the algorithm)
Gear matters when it becomes the bottleneck — and for most beginners, it isn’t yet.
How to Build a DIY YouTube Channel Setup That Looks Professional
You don’t need a studio. You need three things working together: decent audio, controlled light, and a clean frame.
Step 1: Sort your audio first. Buy a lavalier (clip-on) mic or a USB condenser microphone before anything else. Check out our roundup of best wireless microphones for YouTube to find options under $60 that genuinely deliver.
Step 2: Control your light. Film facing a window for free natural light, or grab a single LED ring light. One light source, positioned in front of you, eliminates most amateur-looking shadows. Our best lights for vlogging and YouTube guide covers options from $25 upward.
Step 3: Clean up your background. You don’t need a fancy backdrop. A tidy bookshelf, a plain wall, or a simple backdrop stand works well. Browse eye-catching YouTube backdrop ideas for inspiration that costs almost nothing.
Step 4: Start filming talking-head content. Sit down, look at the camera, and talk. No complex B-roll, no fancy cuts. This builds your on-camera confidence and forces you to tighten your scripting — two skills that matter far more than your lens choice.

When Does a DIY YouTube Channel vs Professional Setup Actually Matter?
The setup choice starts to matter when you’re chasing brand sponsorships or competing in visually-driven niches.
Choose DIY if:
- You’re just starting out and haven’t found your niche yet
- Your content is educational, commentary, or talking-head focused
- You want to test ideas without financial risk
- You’re following our YouTube channel setup checklist for beginners
Consider upgrading to a professional setup if:
- You’re earning revenue and can reinvest it
- You’re pitching to sponsors who review your production quality
- Your niche is cinematic (travel, food, product reviews)
- Poor audio or lighting is showing up in viewer comments
The honest advice: don’t upgrade until your content strategy is working. Gear won’t fix a channel that isn’t growing because of weak ideas or inconsistent uploads. First, check our guide on why most YouTube channels never get views.
Can You Outsource the Professional Parts Without Buying the Gear?
Yes — and this is one of the smartest moves a growing creator can make.
Before you spend $800 on a camera upgrade, consider outsourcing the tasks that actually require professional skill: editing, thumbnail design, and channel art. Platforms like Fiverr connect you with experienced YouTube editors and thumbnail designers who can make your DIY footage look polished for a fraction of the cost of new gear.
For example:
- A Fiverr video editor can add color grading, transitions, and captions to your raw footage
- A Fiverr thumbnail designer can create click-worthy graphics that rival full-time creators
- You keep your DIY setup and redirect your budget toward production quality where it’s visible
This approach — DIY filming, outsourced post-production — is genuinely underused. Our guide on what to outsource first in a YouTube channel breaks down exactly where to start.
What Are the Most Common Mistakes With Both Setups?
DIY mistakes:
- Filming with a window behind you (creates silhouette, kills video quality)
- Skipping a microphone and relying on the built-in camera mic
- Cluttered, distracting backgrounds
- Inconsistent framing between videos
Professional setup mistakes:
- Over-investing in gear before validating your content
- Spending so much time on production that upload frequency drops
- Ignoring SEO fundamentals while obsessing over camera specs (see YouTube SEO mistakes that hurt video rankings)
The worst mistake? Waiting. A published video with average production beats an unpublished video with perfect production every time.
FAQ
Can I start a YouTube channel with just my phone? Yes. Modern smartphones shoot in 4K with solid dynamic range. Add a clip-on mic and good window light, and you have a genuinely watchable setup.
How much should I spend on a beginner YouTube setup? Aim for $100–$200 to start: a USB or clip-on mic ($40–$80), a basic ring light ($25–$50), and a simple phone tripod ($20–$30). That covers the essentials.
Is a ring light enough for YouTube? For talking-head videos, yes. Position it directly in front of you at eye level. It’s not ideal for every niche, but it’s a solid starting point.
When should I buy a dedicated camera? When your phone’s limitations are genuinely hurting your content — poor low-light performance, no external mic input — and you’re already publishing consistently.
Does YouTube compress video quality anyway? Yes. YouTube re-encodes every upload, which reduces some of the quality gap between a phone and a professional camera. Audio is not compressed the same way, which is why it matters more.
What’s the single best upgrade for a DIY setup? A dedicated microphone, every time. It makes a bigger difference than any camera or lighting upgrade.
Can I get brand deals with a DIY setup? Yes, especially in niches where authenticity matters (personal finance, fitness, education). Sponsors care more about your audience engagement than your camera body.
How do I make my DIY background look better without spending money? Declutter, add a plant or two, and make sure your light source is in front of you, not behind. That alone transforms most home setups.
Conclusion
The DIY YouTube channel vs professional setup debate comes down to one practical question: what’s actually stopping your channel from growing right now? If it’s gear, upgrade strategically. If it’s content, consistency, or SEO — fix those first, because no camera solves a strategy problem.
Start with what you have. Get your audio right. Control your light. Publish consistently. Then, as your channel grows, reinvest in the equipment that removes your specific bottlenecks.
Your next step: Use our YouTube channel setup checklist for beginners to make sure your foundations are solid before you spend a single dollar on new gear. And if you want to upgrade your production quality without buying equipment, explore Fiverr’s YouTube editing and thumbnail services — it’s often the fastest way to level up.
Which YouTube Setup Is Right for You?
Answer 4 quick questions and get a personalised gear recommendation — DIY, hybrid, or professional.
How long have you been making YouTube videos?
What’s your content type?
What’s your current filming budget?
What’s your primary goal right now?