Last updated: April 7, 2026
Quick Answer: Setting up a YouTube channel correctly from day one saves you from fixing messy foundations later. This YouTube Channel Setup Checklist for Beginners covers account creation, channel art, profile settings, and Studio configuration — so your channel looks professional and works properly before your first video goes live.
Key Takeaways
- Create a Google Brand Account first to keep your YouTube presence separate from your personal Google account.
- Your profile picture should be 800 x 800 px; your channel banner should be 2048 x 1152 px (max 6 MB).
- Verify your phone number in YouTube Studio to unlock custom thumbnails, streams longer than 15 minutes, and live streaming.
- Write a channel description that clearly states what you make, who it’s for, and what viewers gain.
- Set your channel category so YouTube can recommend your content to the right audience.
- Add a video watermark (150 x 150 px) to nudge viewers toward subscribing directly from your videos.
- Use YouTube Studio as your main dashboard for uploads, analytics, and monetization tracking.
- Create playlists early — they organize your content and keep viewers watching longer.
Why Your Channel Setup Matters More Than Your First Video
Your channel setup is the first thing a new viewer judges before deciding whether to subscribe. Get it wrong and even a great video won’t convert casual viewers into followers.
Think of it like a storefront. If the sign is blurry, the window is empty, and there’s no description of what you sell — people walk past. The same logic applies here.
That’s why working through a proper YouTube Channel Setup Checklist for Beginners before you upload anything is worth every minute.
Step 1: Set Up Your Google Brand Account and Channel
Start with a Google Brand Account, not your personal Gmail. This separates your YouTube identity from your personal account, makes it easier to add team members later, and gives you better control over your channel’s security.
Here’s how to do it:
- Go to myaccount.google.com and sign in.
- Navigate to Manage your Google Account > Data & Privacy > Brand Accounts.
- Create a new Brand Account with your channel name.
- Head to youtube.com, click your profile picture, select Create a Channel, and link it to your Brand Account.
Common mistake: Skipping the Brand Account step and creating a channel directly under a personal Gmail. This makes it harder to share access or rebrand later.
Once your channel exists, you’re ready to make it look the part.
Step 2: Complete Your Channel Art and Profile (The Visual Checklist)
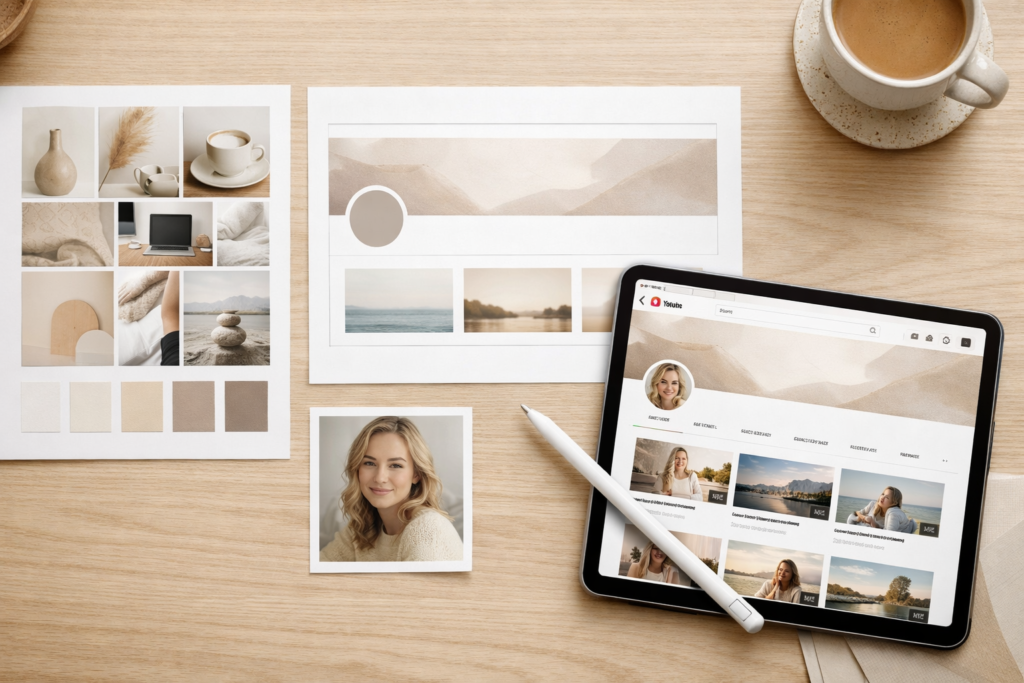
Your channel art is your first impression. Viewers scan your profile picture and banner in seconds — so both need to be sharp, on-brand, and correctly sized.
Here are the exact specs to follow:
| Element | Dimensions | File Type | Max Size |
|---|---|---|---|
| Profile picture | 800 x 800 px | JPG, GIF, BMP, PNG | — |
| Channel banner | 2048 x 1152 px (16:9) | JPG, GIF, BMP, PNG | 6 MB |
| Video watermark | 150 x 150 px | PNG, GIF (no animation), BMP, JPEG | 1 MB |
Your profile picture should be recognizable at small sizes — a clear headshot or a simple logo works best. Your banner should communicate your niche and upload schedule at a glance.
The video watermark sits in the bottom-right corner of every video you upload. It’s a small branded logo that prompts viewers to subscribe without interrupting the content. Set it up in YouTube Studio under Customization > Branding.
Need help designing channel art quickly? Fiverr has a range of YouTube channel art designers who can turn around a professional banner and profile picture within 24–48 hours — useful if design isn’t your strength.
Also check out 20 Eye-Catching YouTube Backdrop Ideas if you want your filming space to match your channel’s visual identity.
Step 3: Write Your Channel Description and Set Your Category
Your channel description tells YouTube and new visitors exactly what your channel is about. It also helps YouTube surface your content to the right viewers — so treat it as both a human pitch and a search signal.
A solid channel description covers three things:
- What you make (e.g., weekly travel vlogs, budget cooking tutorials, tech reviews)
- Who it’s for (e.g., solo travelers on a budget, home cooks with 30 minutes to spare)
- What viewers gain (e.g., practical tips, honest gear reviews, weekly inspiration)
Keep it under 200 words. Front-load the most important information because only the first few lines show before the “read more” cut-off.
Then set your channel category in YouTube Studio under Settings > Channel > Basic Info. This helps YouTube’s algorithm place your content in the right recommendation pool from the start.
For a deeper look at structuring your channel for long-term growth, read How to Structure a YouTube Channel for Growth.

Step 4: Verify Your Account and Unlock Key Features
Phone verification is a small step that unlocks features you’ll need almost immediately. Without it, you’re limited to 15-minute uploads, no custom thumbnails, and no live streaming.
To verify:
- Open YouTube Studio.
- Click Settings > Channel > Feature Eligibility.
- Follow the on-screen prompts to verify via SMS or phone call.
Once verified, you gain access to:
- Uploads longer than 15 minutes
- Custom thumbnails (critical for click-through rates — see How to Optimize YouTube Titles and Thumbnails)
- Live streaming
- The ability to challenge Content ID claims
After phone verification, look into video verification for advanced monetization and content management features — YouTube walks you through this inside Studio as your channel grows.
Step 5: Configure YouTube Studio and Create Your First Playlists
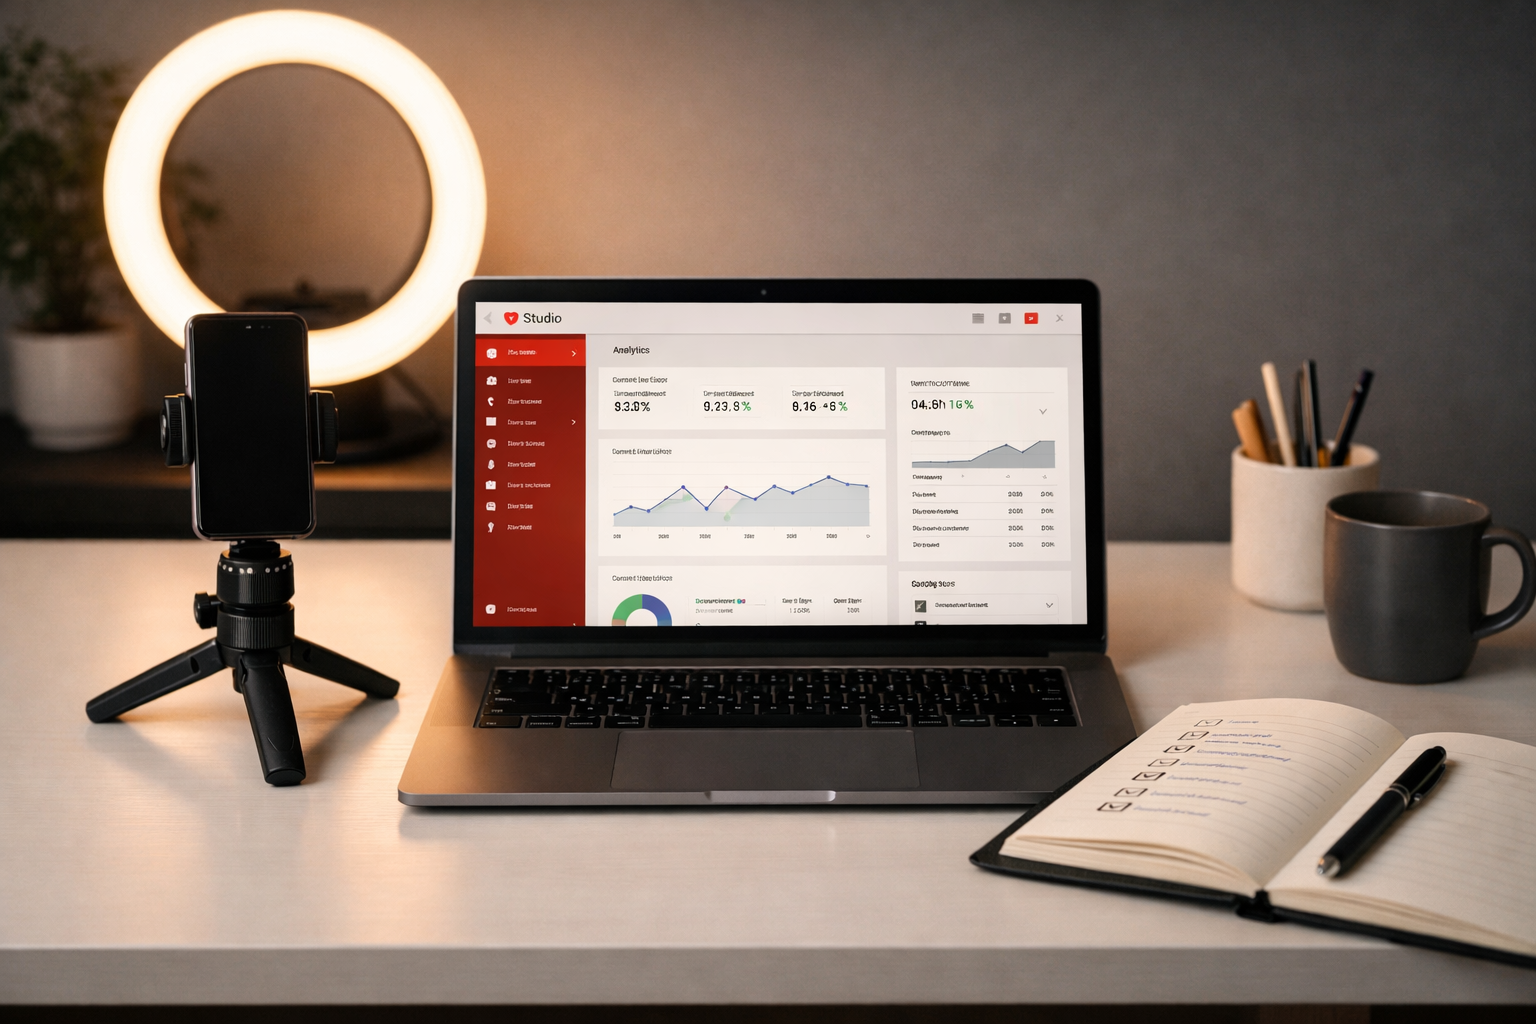
YouTube Studio is your command center. Every upload, every analytics report, every message from YouTube — it all lives here. Get comfortable with it early.
Key areas to set up right away:
- Dashboard: Tracks recent video performance and alerts.
- Content tab: Where you manage uploads, add titles, descriptions, and tags.
- Analytics: Shows watch time, impressions, click-through rate, and subscriber growth.
- Monetization tab: Tracks your progress toward the YouTube Partner Program (1,000 subscribers and 4,000 watch hours in the past 12 months, or 500 subscribers and 3 million Shorts views).
Create at least two or three playlists before you publish your first video. Organize them by topic or format. Playlists keep viewers on your channel longer, which signals to YouTube that your content is worth recommending.
If you’re not sure what content to plan first, 31 Vlogging Tips for Beginners is a practical place to start.
Also, avoid the common pitfalls that stall new channels early — 7 YouTube Mistakes That Kill Channel Growth covers the ones that trip up most beginners.
Need help setting up your channel from scratch but not sure where to start with the technical side? Fiverr’s YouTube channel setup services connect you with experienced creators who can handle the full setup so you can focus on making content.
Conclusion: Your YouTube Channel Setup Checklist for Beginners — Done Right
You now have everything you need to set up a YouTube channel that looks professional, works correctly, and gives your content the best possible start.
Here’s your quick action plan:
- ✅ Create a Google Brand Account and start your channel.
- ✅ Upload a profile picture (800 x 800 px) and banner (2048 x 1152 px).
- ✅ Write a clear channel description and set your category.
- ✅ Verify your phone number to unlock custom thumbnails and live streaming.
- ✅ Add a video watermark (150 x 150 px).
- ✅ Explore YouTube Studio and create your first playlists.
Once your setup is solid, the next step is making sure your videos are actually getting seen. Read Why Most YouTube Channels Never Get Views to understand what separates channels that grow from those that stall — and what you can do about it from video one.
You’ve got this. Now go build something worth watching.
FAQ
Do I need a Google Brand Account to start a YouTube channel? You don’t technically need one, but it’s strongly recommended. A Brand Account keeps your YouTube channel separate from your personal Google account and makes it easier to manage access or add team members later.
What size should my YouTube profile picture be? Upload your profile picture at 800 x 800 px. Accepted file formats are JPG, GIF, BMP, and PNG.
What are the correct YouTube banner dimensions? Your channel banner should be at least 2048 x 1152 px with a 16:9 aspect ratio and a maximum file size of 6 MB.
Why should I verify my phone number on YouTube? Phone verification unlocks custom thumbnails, uploads longer than 15 minutes, live streaming, and the ability to dispute Content ID claims — all features you’ll want early on.
What is a YouTube video watermark and do I need one? A video watermark is a small logo (150 x 150 px) that appears in the bottom-right corner of your videos. It includes a subscribe button, so it’s a passive way to grow your subscriber count without adding anything to your edit.
How long should my YouTube channel description be? Aim for 150–200 words. Lead with the most important information — what you make and who it’s for — since only the first few lines show before the “read more” cut-off.
What is the YouTube Partner Program and when can I apply? The YouTube Partner Program (YPP) lets you earn ad revenue. To qualify, you need 1,000 subscribers and 4,000 watch hours in the past 12 months (or 500 subscribers and 3 million Shorts views for the lower tier).
Should I create playlists before I upload my first video? Yes. Setting up two or three playlists before you publish gives your channel structure from day one, helps viewers navigate your content, and signals to YouTube that your channel is organized and intentional.
Can I change my YouTube channel name after I create it? Yes, you can update your channel name in YouTube Studio under Customization > Basic Info. Just be aware that frequent name changes can confuse your audience and affect brand recognition.
What’s the easiest way to get professional channel art if I’m not a designer? Use a tool like Canva for DIY templates, or hire a designer on Fiverr’s YouTube design category for a custom look at a reasonable price.
YouTube Channel Setup Checklist
YouTube Channel Setup Checklist
Check off each step as you complete it — track your progress below.
Account Setup
Create a Google Brand Account
Keeps your channel separate from your personal Gmail account.
Create your YouTube channel
Sign in to YouTube, click your profile picture, select "Create a Channel."
Choose your channel name
Make it memorable, searchable, and relevant to your niche.
Visual Branding
Upload profile picture (800 x 800 px)
JPG, GIF, BMP, or PNG. Use a clear headshot or simple logo.
Upload channel banner (2048 x 1152 px)
Max 6 MB. Communicate your niche and upload schedule visually.
Add a video watermark (150 x 150 px)
PNG or JPEG, max 1 MB. Appears bottom-right on all videos.
Channel Info
Write your channel description
Cover what you make, who it's for, and what viewers gain. ~150–200 words.
Set your channel category
Helps YouTube recommend your content to the right audience.
Add links (social media, website)
These appear on your channel banner and About page.
Verification & Features
Verify your phone number
Unlocks custom thumbnails, 15+ min uploads, and live streaming.
Complete video verification (if prompted)
Unlocks advanced monetization and content management features.
YouTube Studio & Content
Explore YouTube Studio
Familiarize yourself with Dashboard, Content, Analytics, and Settings tabs.
Create 2–3 playlists
Organize by topic or format. Keeps viewers watching longer.
Plan your first 5 video ideas
Map out content before you start filming to stay consistent.
🎉 Channel setup complete! You're ready to upload your first video.